
Introduction to Thin Embroidery Tailor Training:
The steps of thin embroidery sewing training are very easy and sweet. Many people prefer to go through the above courses and sewing training steps in order to be able to implement their ideas on fabric or to solve their clothing problems.
1- Ironing:
In the first step of the thin embroidery sewing training, it is necessary to iron your fabric well or wash it in advance so that if it gets watery, this will not cause a problem in the size of your dress. This is especially important when the fabric has a grain. Of course, note that before starting the other steps, you must allow the fabric to dry well.
2- Needle-thread:
In the second step of thin embroidery sewing training, it is time to thread the needle. This work may seem easy to many people, but it has many challenges. Thin embroidery is a clean work. Therefore, in order not to run out of thread in the middle of the work, it is necessary to remove twice as much as you need from the thread. Take one end of the thread between your thumb and forefinger and insert it into the hole of the needle. To make the above task easier, you can cut the thread with sharp scissors with a thinner head. The other end of the thread should also be well secured.
3- Starting sewing:
In the continuation of the thin embroidery sewing training, it is necessary to insert the needle from the back of the fabric and start sewing. It means to enter it from a place where people can't see. Then you can start your sewing and continue as far as needed. You should note that the end of your stitching should also be in the back part of the fabric so that the knot cannot be seen by others. The reason why you start from the back is so that this knot is not placed on the front (visible part) of a garment or fabric. caught, there may be several reasons for this:
For this, release the needle from the front side of the garment. Therefore, it is necessary to return it again from the last hole where the needle is ready. Pull the thread all the way and release it until you feel resistance. By doing this, your stitching will stay on the clothes better. However, keep in mind that the stitch should be tight enough to lay flat on the fabric, but not so tight that the fabric gathers underneath.
4- Repeat sewing and connecting seams:
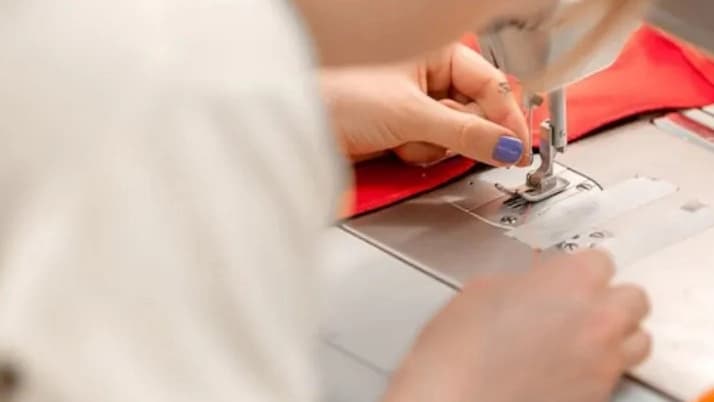
In the fourth step of thin embroidery sewing training, it is necessary to fasten all the seams well, so repeat the previous two steps. The next stitch should always be close to your last stitch. In order to be able to continue your sewing well, turn the second row of fabric when sewing and then start sewing.
Each stitch at the beginning of the next row should be in line with the stitch of the previous row and not gather the fabric. In general, the stitches should be in a straight line. Always be careful in the steps of thin embroidery sewing training that if the thread runs out in the middle of the work, make the next stitch in continuation of the previous one and maintain the elegance of the work so that the symmetry is Good to be observed. If you notice that the fabric is gathering while sewing, there is another option.
You can push the needle towards the front of the garment, but leave it loose. With this you will have a loop on the back. Push the needle again towards the back of the garment, once again look at the created hole, tighten it little by little, so that the fabric does not stretch.
5. Practice all kinds of sewing:
After you are familiar with the steps of thin embroidery sewing training, now you should practice all kinds of stitches. For this, practice all kinds of stitches by hand. Stitching, as described above, is a good start.
However, the larger the stitches, the more likely they are to tear or come out. Therefore, learn how to tie the thread, you must know what type of stitch to use for each type of sewing. Tighter stitches have a medium or short stitch length. When sewing from the front to the back of the fabric, the next stitch should be as close as possible to the previous stitch.
6- Starting Zigzag Sewing:
The next stage of thin embroidery sewing training is zigzag stitching. This type of stitching is a stitch that goes back and forth and is a good option for those cases where straight stitching cannot be used.
In the stages of thin embroidery sewing training, it is stated that zigzag is used to strengthen Sewing buttonholes or working with stretch fabrics is used. It can also be used to temporarily join two parts of a garment together at their edges. This stitch can be seen in short, medium and long stitches.
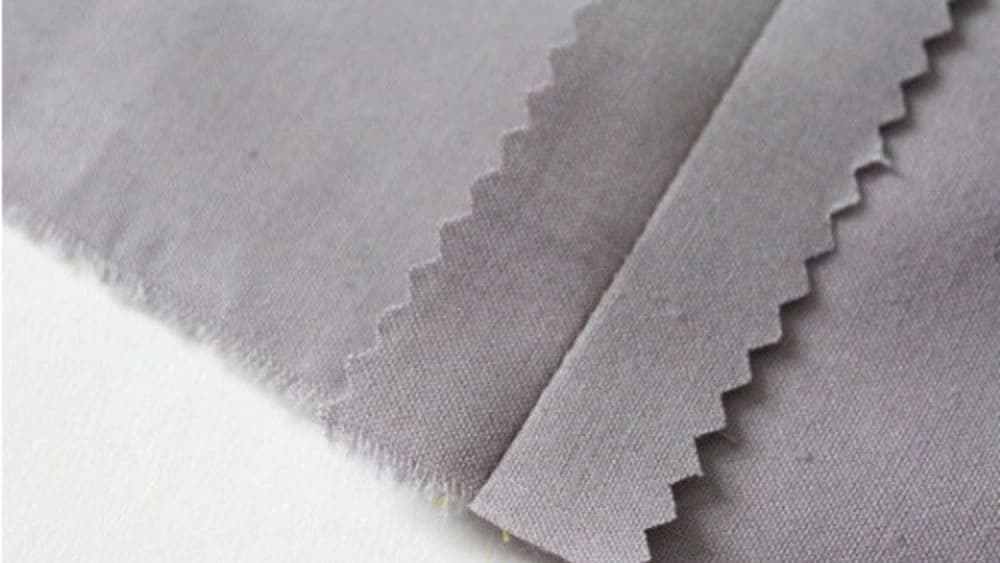
Blind stitches are a type of zigzag stitch. It is also called "blind edge". This is very similar to the zigzag stitch, but it also includes several straight, flowing stitches from where the stitch begins. This is used to create an invisible edge.
7. Connecting different parts of the dress to each other:
In the continuation of the steps of thin embroidery sewing training, it is necessary to sew two pieces of fabric together. If you are progressing through this step, place the different fabrics together so that the backs are facing out (and the fronts are together). The edges that you want to sew together should be placed in the same line and next to each other, then start sewing according to the type of fabric. If you used stitches to connect the clothes, After finishing the sewing, you will be able to open the stitch and iron the seam.